 Inspired by some fabric versions I saw on pinterest, I decided to design an easy duct tape craft for kids at our annual Bible night. We needed something fresh, having done Bible bookmarks a couple times. This takes about 10 minutes. The trickiest part is making sure you fold the duct tape over itself so it is flat. Having adult or older youth helpers is important. For a list of essential scripture passages to mark, download this one page guide: Customize your Bible.
Supplies Needed: Scissors, Bible for measuring
Duct Tape Strips
A: 1 piece 3x as tall as your bible, folded in half, lengthwise (36″ strip becomes 18″ strip, for example) with sticky sides facing.
B: 1 piece 1.5x as tall as your bible, folded in half, lengthwise, with sticky sides facing.
C: 1 piece 1.5x as tall as your bible, not folded
D: Connector pieces of duct tape for the final step. Don’t cut until the end.
Step 1: Take the longest strip, A, and lay flat on top of your Bible. It should overhang the top and the bottom edges. This is the piece that will wrap around the cover.
Step 2: Take strip B and lay it on top of strip A to make the pocket. The bottom of the pocket will fold around the bottom of the Bible. The top part of the pocket should be near the middle of your Bible.
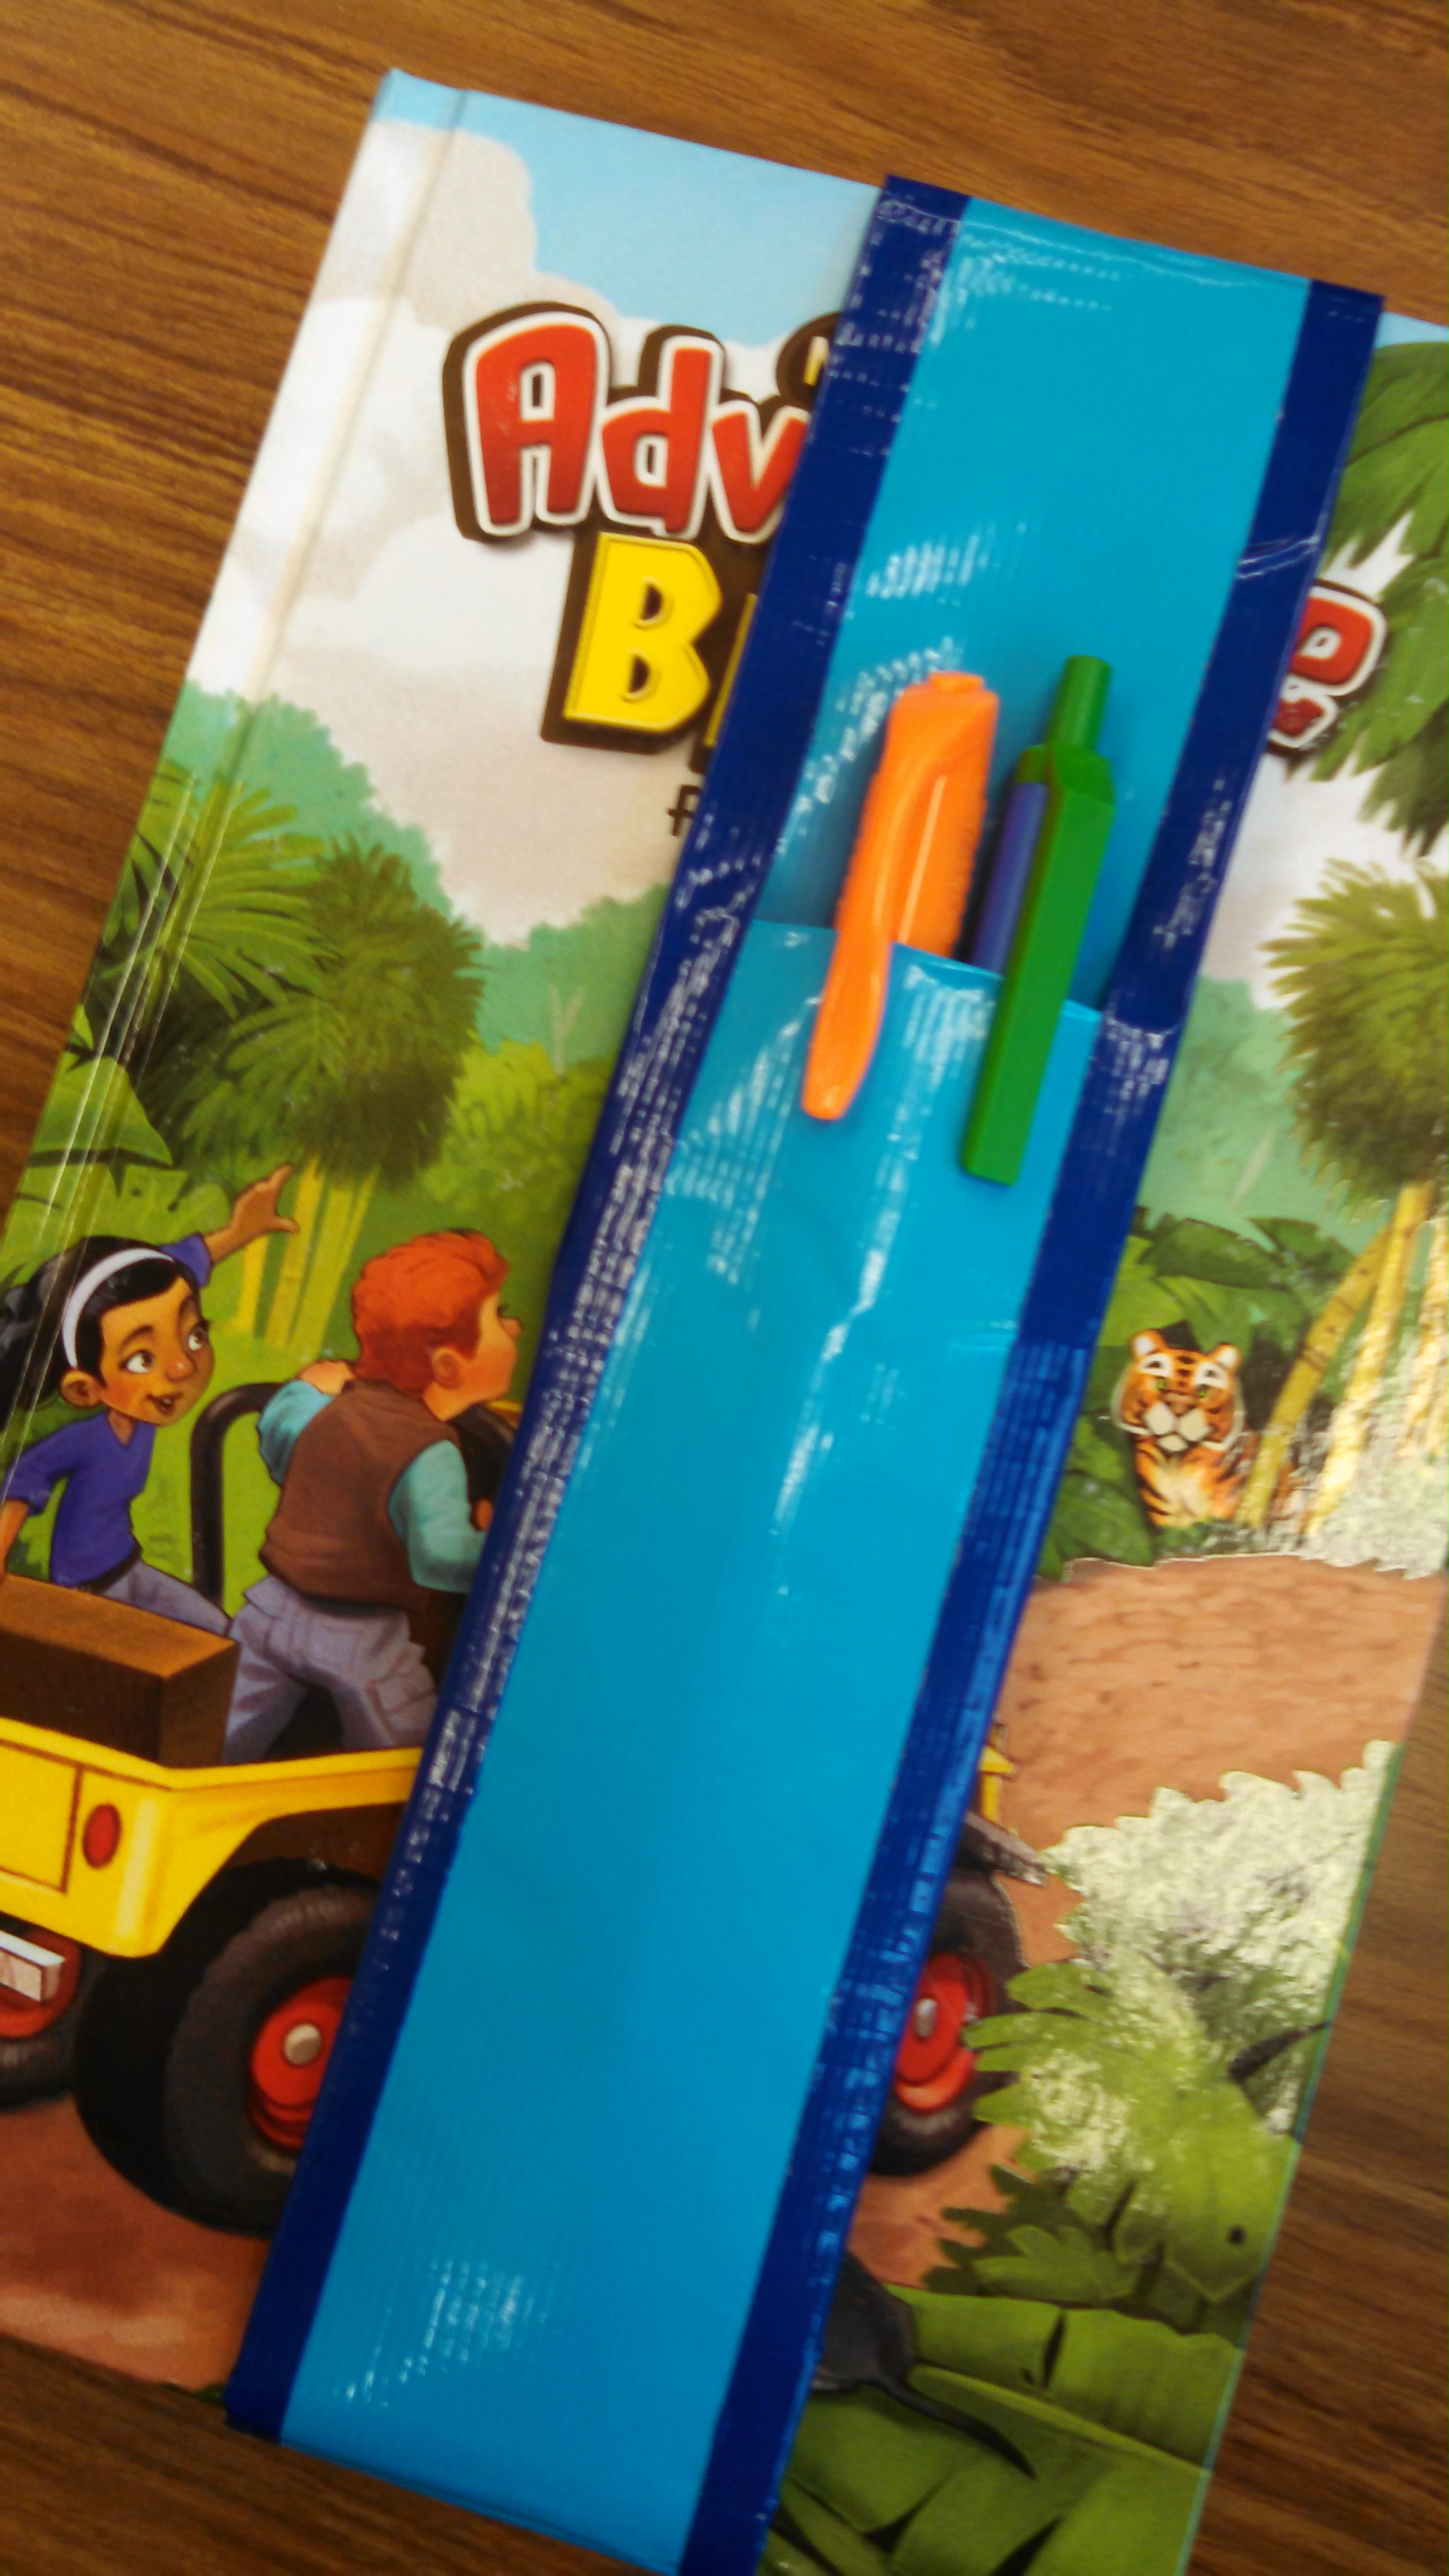
Step 3: Carefully lay your pieces on the table. Tear strip C in half, lengthwise. Use the half strips, C, to make the sides of the pocket, These are the dark blue strips in the picture.
Step 4: Placing the pocket back on top of your Bible, wrap piece A around the cover and connect the ends of A using 2 pieces of duct tape.

Great idea, going to try it with our 5th grade Sunday School class
LikeLike